


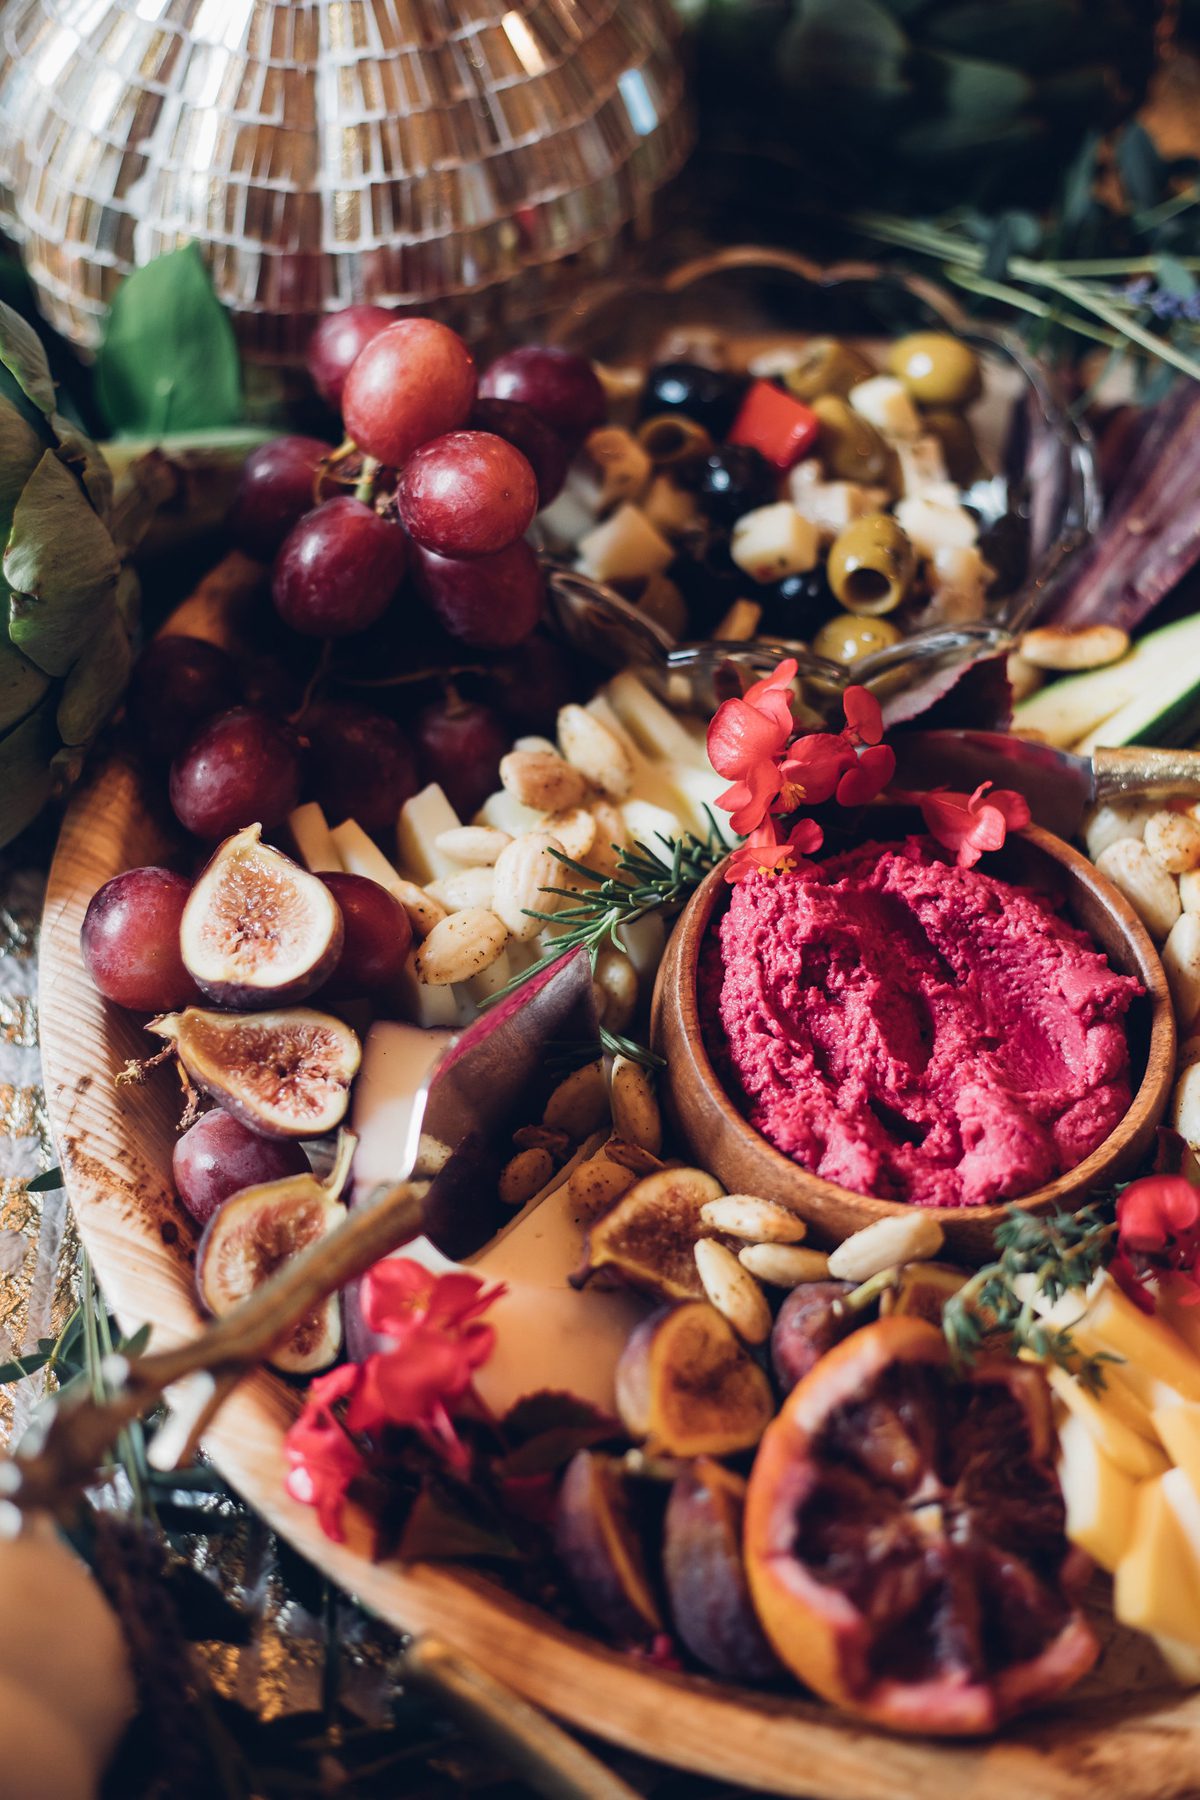


Hello, sweet summertime. We have been waiting for you. One of the favorite things about summer is Saturday strolls thru our local farmers’ markets. Nothing is better than fresh produce straight from local growers. Mother Nature didn’t provide you with water-filled vegetables and fruits in summer by chance. It’s important to eat your water as well as drinking it. The fiber in the plants helps you absorb it slower for better hydration. For your upcoming summer gathering by the pool or backyard BBQ, try some delicious cold recipes that are designed to nourish and hydrate you too!
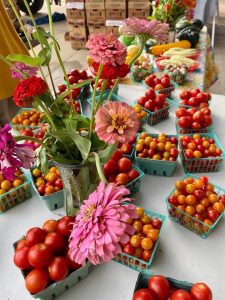
Local farmers are happy to help you with any question you may have. If the farmers’ market seems overwhelming, here are a few tips to have you shopping all the locally grown goodies like a pro.
Know your seasons – If you start with a basic knowledge of seasonal produce, you’ll know what kind of fruits and vegetables to expect when you arrive at the market. Keep in mind that seasonality and items on offer will differ depending on what growing region you live in.
Meal plan ahead of time – Since you know what you’re likely to find at the market, you can do a bit of meal planning and shop accordingly, much as you would at the grocery store. Make a list and note the amounts you’ll need of each item. Because the farmers’ market is subject to seasonality, and vendors may run out of items or simply not have them that week, maintain some flexibility. No asparagus this week? Try substituting broccolini.
Bring small change – It’s extremely rare for farmers’ market vendors to take card purchases, so you’ll need to bring cash. Although vendors will make change, purchases will go quicker if you have exact (or close to exact) change. Bringing a stack of ones and fives will make things easier for you and the vendors.
Bring your own bags – Some farmers’ market vendors offer bags, but they tend to be thin and flimsy plastic ones that groan under the pressure of any substantial produce purchase. Make sure everything gets home from the market without crashing onto the sidewalk or spilling onto the floor of your car by bringing your own sturdy canvas or nylon bags. A backpack can make the hauling easier, especially for weighty or bulky items.
Early bird gets the worm – Markets tend to be less crowded right when they open or just before they close. There are exceptions to this rule, so try going to your market at different times to figure out the best time for you. For the best selection, go to the market early. The best goods tend to go first, and popular-but-limited items may even sell out before the day is done.
Talk to the farmers – If you find a fruit or vegetable that’s new to you at the farmers market, don’t be afraid to ask the farmer about it. Most vendors will be happy to tell you all about their products, including how they are grown, their origins, what they taste like, and how to prepare them. Because farmers are extremely familiar with their crops, they often know the best way to fix them for dinner. Plus, they might give you a sample to taste.
Summery Watermelon Gazpacho
A cold soup with watermelon, tomatoes, bell peppers, onions, cucumbers.
1 red onion – ½ cup roughly chopped, ½ cup finely chopped
1-2 red bell peppers – 1 cup roughly chopped, ¾ cup finely chopped
1-2 peeled and seeded cucumbers – 1 cup roughly chopped, 1 cup finely chopped
1 jalapeño pepper – 1 Tbsp roughly chopped, 1 Tbsp finely chopped (more or less to taste)
2 cups chopped fresh tomatoes
6 to 7 cups of chopped seedless watermelon (or watermelon with seeds removed)
¼ cup chopped cilantro
¼ to ½ cup of red wine vinegar (more or less to taste, depending on the sweetness of the watermelon and tomatoes)
1 Tbsp kosher salt
1 Tbsp extra virgin olive oil
Garnish:
Sour cream (omit for vegan or paleo option)
Diced avocado
Cilantro
Purée vegetables and watermelon:
Put the roughly chopped onion, bell pepper, cucumber, jalapeño and cilantro into a powerful blender. (Reserve the finely chopped vegetables for adding later.)
Add the tomatoes and pulse until puréed.
Add the watermelon and pulse again until smooth.
If your blender isn’t big enough or if you prefer to use a food processor, you may need to work in batches. (An immersion blender will likely not work for this, not enough liquid.) Pour into a large bowl.
Balance the sweetness with vinegar, add salt and olive oil.
Taste the gazpacho and add red wine vinegar to balance the sweetness of the watermelon and tomatoes.
Depending on how sweet your watermelon is, and how acidic or sweet your tomatoes are, you may need to add less or more red wine vinegar. So, start with ¼ cup of vinegar, and keep adding a tablespoon at a time until you’ve reached a balance you like.
Whisk in the salt and olive oil.
Stir in finely chopped vegetables, then chill:
Stir in the finely chopped onions, bell pepper, cucumber, and jalapeño. Chill for at least an hour for the flavors so blend. (It’s even better chilled overnight.) Add more salt to taste if it needs it.
Garnish: To serve, garnish with sour cream, diced avocado, and chopped fresh cilantro. Also good with a side of toasted rustic bread.
Quick Pickled Vegetables
A simple delicious recipe that can be used with almost any veggie! Beets, turnips, radishes, carrots, kohlrabi, onions, cauliflower, peppers, asparagus, or green beans! For long-term canning, see recipe notes!
Enough fresh raw veggies to fill 2 quart-size Mason jars (about 5-6 cups) – beets, carrots, radishes, turnips, cucumbers, okra, green beans, asparagus, red onion, zucchini or summer squash, cauliflower florets, bell peppers, garlic cloves, fennel bulbs, cabbage, rainbow chard stems
1 tablespoon coriander seeds
2 teaspoons fennel seeds
1 teaspoon mustard seeds
6–10 cloves garlic- sliced thickly
½ an onion sliced (optional)
few sprigs fresh dill (optional) or other herbs
Other optional additions – whole cloves, dill seeds, whole allspice, fresh ginger slices, fresh chilies or chili flakes, celery seeds, peppercorns, cumin seeds, star anise, other fresh herbs
Pickling liquid:
2 Cups vinegar – white, red wine, rice wine, apple cider (any of these, or a combination)
2 Cups water
2 Tablespoons kosher salt
4–6 Tablespoons sugar (sugar is added for flavor, so feel free to cut back you like)
Prep your veggies. Wash them well and slice, quarter, or cut into spears, or leave them whole (like with green beans, asparagus, okra, etc.)
Bring the water, vinegar, salt, and sugar to a boil in a small pot, and in the meantime pack the jars with the prepped veggies.
In two quart-size Mason jars, divide the garlic and whole spices.
Begin adding the veggies and if you are including the onion ( which I recommend), layer a few slices in with the veggies along with any fresh herbs you would like to include ( you can also layer the garlic this way too, or put it in first, your choice) leaving about an inch at the top of the jar.
Using a funnel, carefully pour the hot liquid into the jars, making sure to submerge all the veggies, pressing down on them with the end of a wooden spoon. You may be able to add more veggies at this point, just make sure the liquid completely covers the veggies leaving at least a half-inch of room between the liquid and lid.
Cover and let sit on the counter to cool, and after an hour or two, place in the fridge. These will taste good after 6-8 hours, but much better after a couple of days.
Notes
These keep up to 2-3 weeks in the fridge.
If pickling firmer veggies like carrots or beets, feel free to simmer the veggies in the pickling liquid (in a pot) for a few minutes to soften them slightly. Don’t overcook them!
If you are planning to can your pickles for long-term storage, bring a large pot of water to a boil and sterilize 2 wide-mouth pint jars and their metal lids.
Place the pickling liquid in a saucepan over high heat and bring to a rolling boil. Pour the brine over the veggies filling each jar to within ½-inch of the top. Remove any air bubbles. Gently tap the jars against the counter a few times to remove all the air bubbles. Top off with more pickling liquid if necessary. Tighten the lids. Place the lids over the jars and screw on the rings until tight. For longer storage, place the filled jars in a boiling pot of water to can them. When the water comes back to a boil, boil the filled jars for 5 minutes then remove the jars immediately. Make sure the lids pop down.