


Whether Uncle Eddie is finally gone or the cousins played ball in the house one too many times, you may now need to fix a few holes or cracks in the walls. Don’t worry, I can help.
Although I hoped that painting over cracks and holes would make them disappear, I was dead wrong. Actually skipping the patching process will make those imperfections even worse!
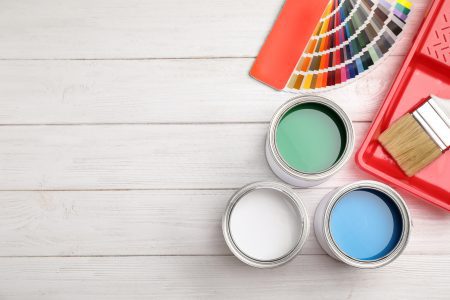
Good news – it’s simple to fill gaps with just a little time and a few tools.
What you need:
- putty knife
- fine-grit sandpaper
- sponge or cloth
- paintbrush
- spackle and primer
1. If you are repairing a very fine crack use the edge of the putty knife to widen the crack and remove any loose material inside. You want to make it a little deeper and wider so the filler can actually be pushed in there.
2. Now brush or vacuum out the area to remove dust and other debris (or you can use a damp cloth) and you’re ready for a filler. If you don’t clean the area, the filler may not dry or grip the surface of the wall properly.
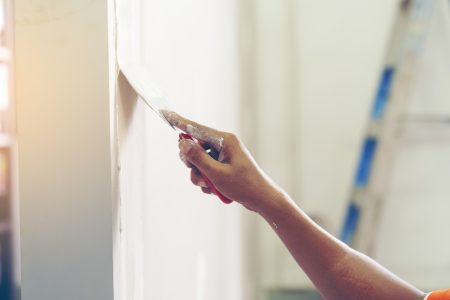
3. Now, load your putty knife with filler (either spackle or joint compound) and with even pressure, slide the knife over the area that needs to be filled. You may need to do this process a few times depending on the size and depth of the crack. Important tip – Be sure to wait until the previous layer is dry before adding another. Trust me, it will end up looking like Aunt Belle’s cake pan when she forgot to coat it first. Let’s just say, try to avoid this mistake.
4. Once it’s dry, very lightly sand with fine-grit sandpaper and wipe it down with a damp cloth or sponge. Then, use a good primer to seal the filler and prevent it from absorbing the new paint you’ll eventually use to cover it. If you have some old paint or need a new custom match, be sure to fan or feather out the paint around the edges. If you throw some paint on only the section that was repaired, even Granny will be able to see the patch.
The Power of Paint is Real
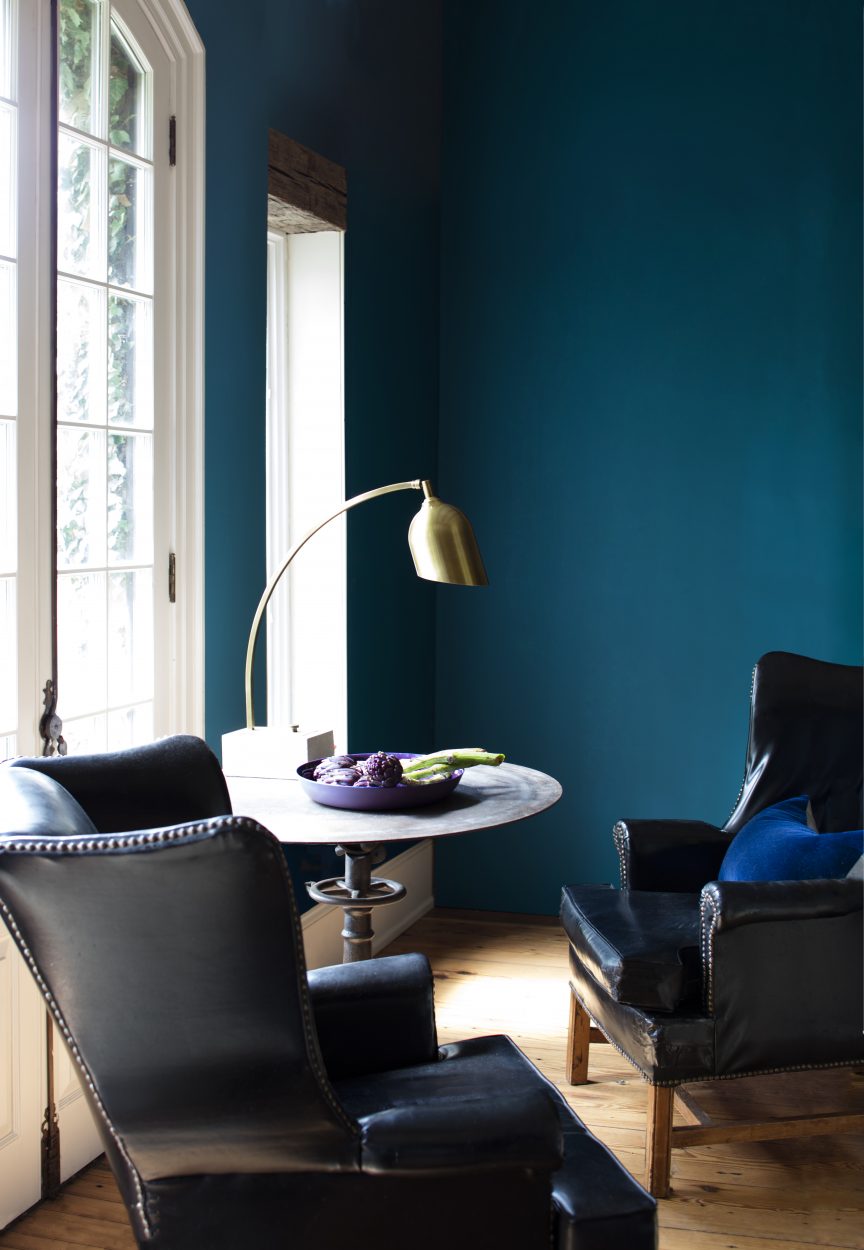
You may feel like your home is in dire need of a top-to-bottom makeover, fighting urges to toss everything out and replace furniture, lighting, flooring, and other accents with completely new finds. But there’s a solution that gives your home a fresh look without having to redecorate – and it’s easier to pull off than you would ever believe.
Paint can breathe new life into any room in your home, but your walls aren’t the only place that can benefit from a fresh coat. Did you know that you can paint furniture, floors, cabinets, and even pottery and glass? With the right formula and a little planning, a paint-focused makeover isn’t just possible, it’s easy, too.
Let’s paint those kitchen cabinets…
Painting the kitchen cabinets saves you a bundle: It costs about a tenth of what new ones do. And if you put in the prep time, the rest is gravy. Remove the doors and drawers, unscrew and label the hardware (don’t forget to label so you can put everything back in the right place), and spray and wipe down every last inch of the boxes, fronts, or shelves with a degreasing cleaner; try TSP. You may not be using the ole Fry Daddy but trust me, those cabinets have some grease on them – cleaning with TSP is not a step to skip. Even a tiny bit of moisture can cause bleed-through on the final finish; it looks like yellow or brown dots.
Cabinets are made of myriad materials, from solid wood to plastic laminate; if you’re unsure what to use on yours, bring a door with you to the local paint store and ask an expert. When you’re ready to go, sand or use a deglosser (a liquid that dulls the old coating), prime (this will help make the final coat last and look fantastic for years to come), and sand again. Apply multiple THIN coats of a semigloss or gloss paint with a microfiber roller. They’ll look shiny and new in no time.